
This article will explain the basic theoryp of digital synthesizers and develop a simple digital synthesizer based on JUCE.
The focus of this article is on the principles of synthesizers rather than on how to write the code, so some of the programming details will be omitted.
JUCE framework
There’s a saying in programming that when doing a project don’t reinvent the wheel, try to put your energy into something useful. For example, for audio processing, we want to focus on the specific algorithm for processing audio, not on the big bunch of APIs that interact with the sound card and the host software.
JUCE (Jules’ Utility Class Extensions) framework provides a series of useful libraries in audio processing. It allows developers to create audio applications and plugins for different platforms. You can download JUCE from its official website.
Personally I recommand Visual Studio as the IDE. When learning JUCE, you can refer to its official tutorials and documentation.
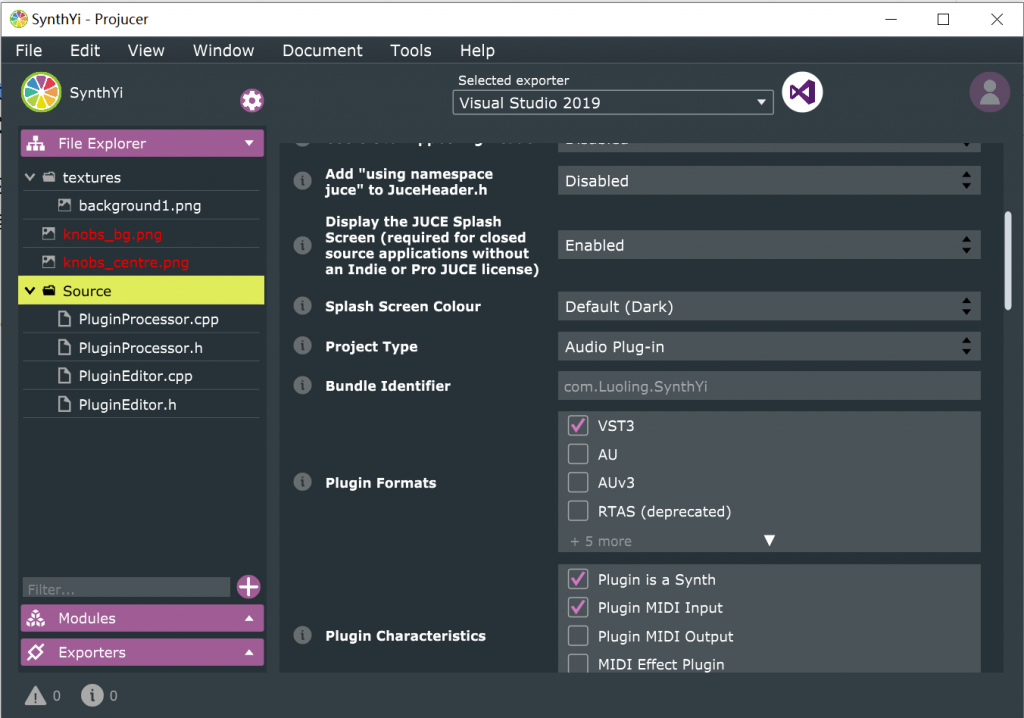
Install JUCE and create an audio plugin project (remember to check the vst3 option in Settings – Plugin format) . Now open it with Visual Studio 2019 by clicking the button above.
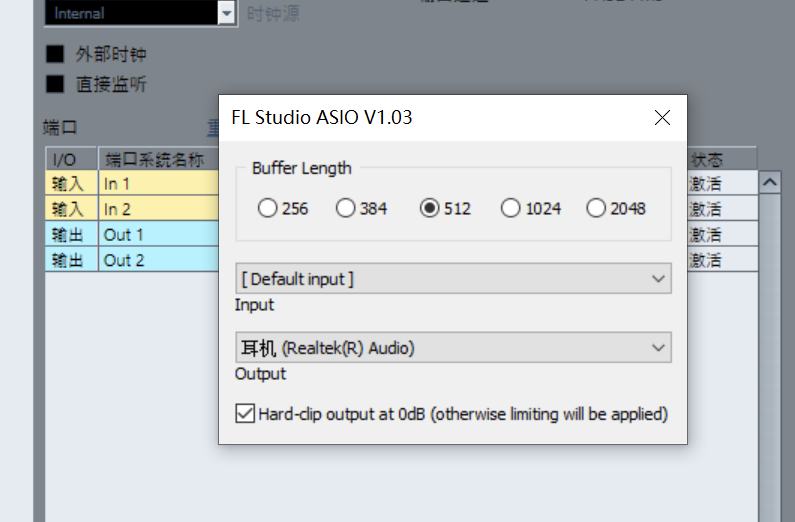
The computer processes audio block by block. You can change the buffer size in the virtual sound card settings. The smaller the buffer, the lower the latency of the audio, but the higher the performance requirements.
In C++, each class has a .h file (the class definition) and a .cpp file (the class implementation). In PluginProcessor.h we can define some useful class member properties for later use.
class SynthYiAudioProcessor  : public juce::AudioProcessor
{
public:
    //...
    //waveform generate related
    int positionStamp = 0;
    double sampleRate;

    NoteEvent notelist[129];
    //...
}
Find the processBlock function in PluginProcessor.cpp in the project opened in Visual Studio. When the plug-in is running, the program will keep calling this function to process the audio block by block. We will write the audio processing code here.
//SynthYi is the project name
void SynthYiAudioProcessor::processBlock (juce::AudioBuffer<float>& buffer, juce::MidiBuffer& midiMessages)
{
    //write your code here
    sampleRate = getSampleRate();
}
MIDI
MIDI (Musical Instrument Digital Interface), or Musical Instrument Digital Interface, is a format for music scores to be understood by computers. MIDI consists of a series of messages that record events such as key presses, key releases, pedal strokes, transpose wheel turns, intensity changes, and so on. The notes written in the host software are also transmitted to the virtual instrument plug-in in the form of MIDI.
MIDI has 128 different ids, corresponding to 128 notes, and JUCE provides a utility library to convert MIDI ids to the corresponding pitch frequency. In the processBlock function, the list of MIDI events is passed as a function parameter. You can use a for loop to iterate over the midi events in the current block:
int pos;
juce::MidiMessage midi_event;
for (juce::MidiBuffer::Iterator i(midiMessages); i.getNextEvent(midi_event, pos);) {
    if (midi_event.isNoteOn()) {
        //key pressed.
    }
}
Oscillator
The oscillator is the core of the synthesizer. The oscillator is responsible for generating waveform signals of specific frequencies, usually square, sine, triangle, and other basic waveforms. Analog oscillators are circuits such as RC oscillator circuits, LC oscillator circuits, and Quartz crystal oscillators. Digital oscillators are more flexible and generally use a function to calculate the sample value for each sample point.
For example, a digital oscillator may use the formula below to generate a sinewave of frequency $\omega$:
$Y_n=\sin (2\pi \omega x)$
Sawtooth Wave:
$\arctan\left(\tan\pi \omega x\right)$
Or simply represent waves in Fourier series. Here is the Fourier series of the sawtooth wave:
$f\left(x\right)=\sum_{n=1}^{\infty}\frac{\sin nx}{n}$
Square wave, in Fourier series:
$f\left(x\right)=\sum_{n=1}^{\infty}\frac{\sin\left(\left(2n-1\right)x\right)}{\left(2n-1\right)}$
The infinite terms here is an ideal situation. You can choose the appropriate number of terms as needed when synthesizing. Most of the time a 50-term wave sounds good enough. The image below shows some waveforms modeled by Fourier series:

However, both synthesis methods have significant drawbacks. The first method requires a function to be written for each waveform, which is very inflexible, and not all waveforms can be represented by a simple math function. The second method is more flexible than the first because almost all periodic waveforms can be decomposed into Fourier series. The disadvantage of this method is that the synthesizer can only calculate a limited number of terms, which often results in the absence of high frequency overtones. Moreover, it requires the calculation of hundreds of sine waves at once when there are a lot of notes, which means high time complexity.
Commercial synthesizer software, such as Serum, usually uses wavetable synthesis. This means storing single cycle samples of the waveform in advance. The synthesizer will stretch and repeat these samples over and over during the synthesis process. Wavetable files are available in Serum’s preset library folder; we can open one of them in Cubase to see what it is like.
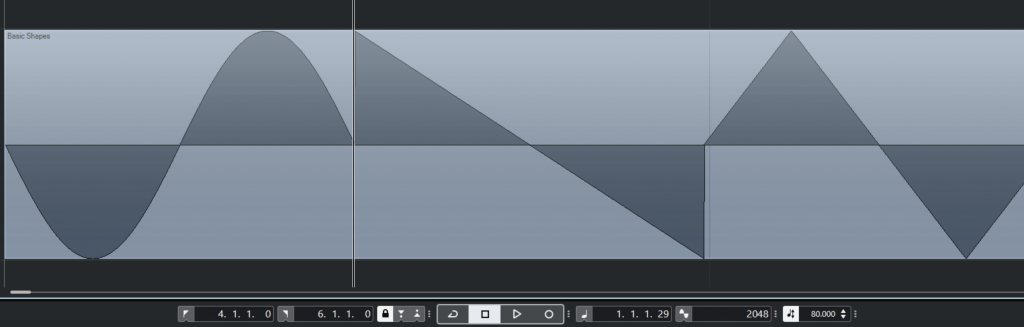
You can see that 2048 samples for each waveform (note the time display in samples in the right of the toolbar).
Here’s another one:
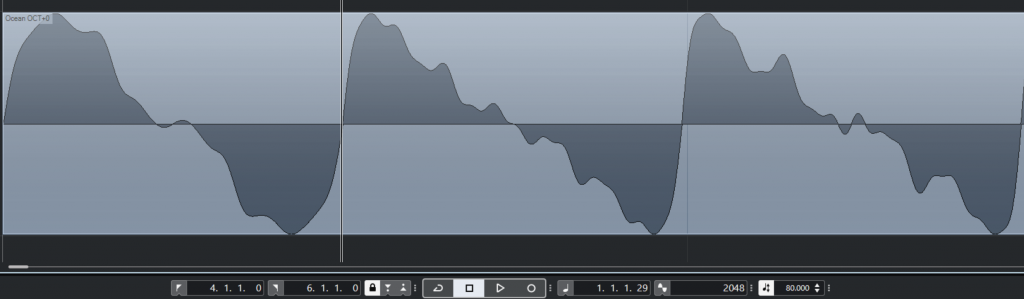
Such a waveform is difficult to express as a function, but in a wavetable synthesizer, all that is needed is to store the waveform samples.
Unison
A single wave sometimes sounds a little thin. In digital synthesizers, there are often unison effects, where several oscillators with similar frequencies simultaneously play.
Here’s a demo of unison. The first half of the piece is a single sawtooth wave, and the second half is six sawtooth waves in unison.
Envelope
Envelope brings dynamics to the sound in terms of volume. The most familiar form of Envelope is ADSR, i.e. Attack, Decay, Sustain, and Release. Attack is the time from key press to the synthesizer’s maximum volume; Decay the time from the maximum volumn to sustain volumn; Sustain the volumn when holding the key; Release is the time for sound to disappear after releasing the key. Some synthesizers such as Serum also have the option of Hold time, which is how long the synthesizer stays at maximum volume.
Aurally, the shorter the start time, the more percussive and powerful the sound will sound. The longer the release time, the longer the aftertone of the note.
The envelope acts on the amplitude of the waveform. Here is a loudness – time graph of a synthesizer-produced audio:
The envelope function$f_{Env}(t)$describes the relative amplitude versus time. Applying envelope to a generated waveform:
$Y_t=X_t*f_{Env}(t)$
My code implementation of the envelope function, for reference only:
double NoteEvent::EnvAHDSR(int currentStamp)
{
	int step = currentStamp - noteStart;
	if (step <= 0) {//before
		releaseFrom = 0.0;
		return 0.0;
	}
	else if (currentStamp > noteReleaseTime && currentStamp < noteReleaseTime + release && noteReleaseTime != -2) {
		//release
		int releaseStep = noteReleaseTime + release - currentStamp;
		return releaseFrom*(powCurve((double)releaseStep / (double)release));
	}
	else if (step < attack && step > 0) {//attack
		releaseFrom= powCurve((double)step / (double)attack);
		return releaseFrom;
	}
	else if (step <= attack + hold) {//hold
		releaseFrom = 1.0;
		return 1.0;
	}
	else if (step <= attack + hold + decay) {//decay
		double nowPercentage = powCurve(1 - ((double)(step - attack - hold) / (double)decay));
		releaseFrom= (1.0 - sustain) * nowPercentage + sustain;
		return releaseFrom;
	}
	else if (noteReleaseTime == -2 || currentStamp < noteReleaseTime) {//sustain
		releaseFrom = sustain;
		return sustain;
	}

	return 0.0;//after
}
double NoteEvent::powCurve(double x)//Loudness generally changes exponentially
{
	return std::pow(21.0, x) / 20.0 - 0.05;
}
Filter
Filters in synthesizers are usually dynamic. The filter’s mix ratio and cutoff frequency change dynamically over time, creating an interesting sound effect. For example, linking the cutoff frequency of a filter to the envelope can create a bouncy Pluck sound. Here is an demo that uses a Butterworth filter with dynamic cutoff frequency.
Low Frequency Oscillator (LFO)
A Low-Frequency Oscillation (LFO) outputs a periodic control signal with a low frequency. This control signal can control the output volume of the synthesizer, the filter cutoff frequency and many other things. Even, on digital filters, it is possible to control which sample is used for synthesis. The synthesized waveform will be different when the LFO output value is different.
Here is a demo where the synthesizer synthesis waveform is controlled by the LFO output signal.
The low-frequency oscillator operates in exactly the same way as the digital oscillator that generates the audio waveform.
Effectors (Fx)
In the previous section, we have implemented many kinds of audio effects. The synthesizer contains many effects for adjusting the sound.
The melody in the demo audio below is played by a sine wave with a distortion effect added. The distorted sine wave has many squarewave-like overtones, which made it sounds brighter.
Export the plugin
Here I have implemented a simple Fourier series based additive synthesizer using code. If you want to create your own synthesizer, try to use the wavetable approach, because my synthesizer can run with a CPU usage of more than 50%…
For UI development in JUCE, you can refer to the official JUCE tutorial. Because the content is really too much to put here.
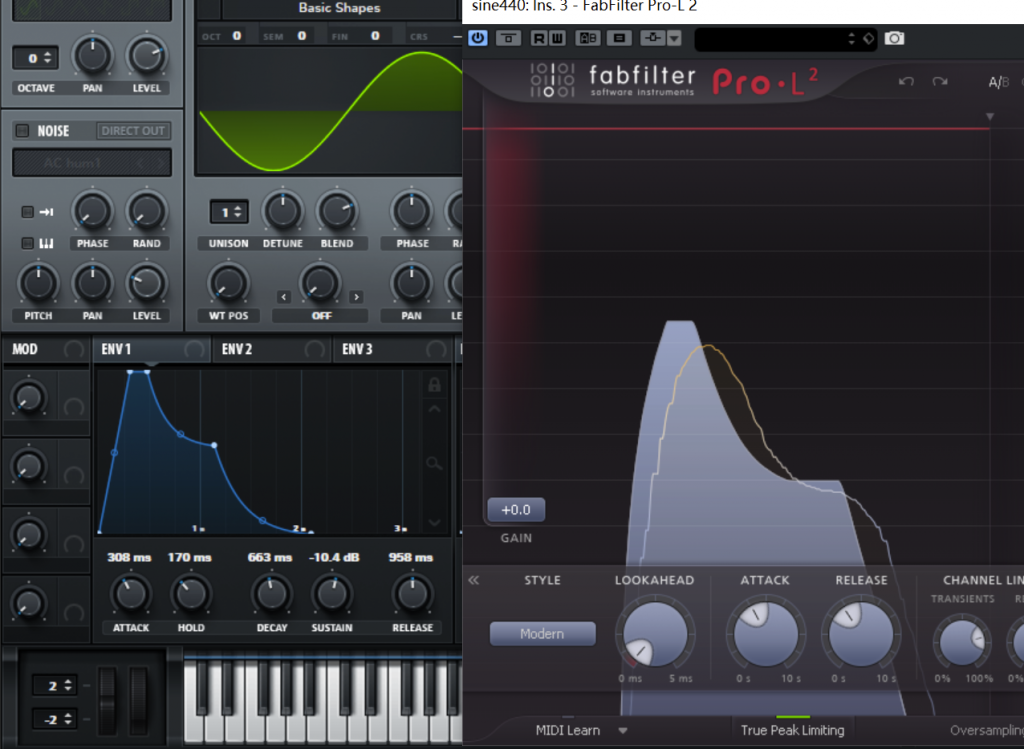
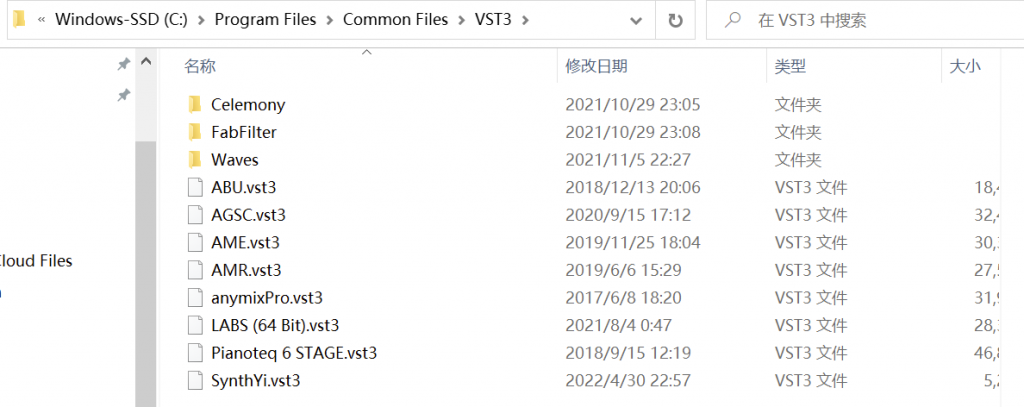
After writing the code in Visual Studio, select Build – Build Solution. When the build is done, find the vst plugin with .vst3 extension in the output folder and copy it into the C:\Program Files\Common Files\VST3 directory. Now you can load it in your DAW (In this project, I used FL studio 20).
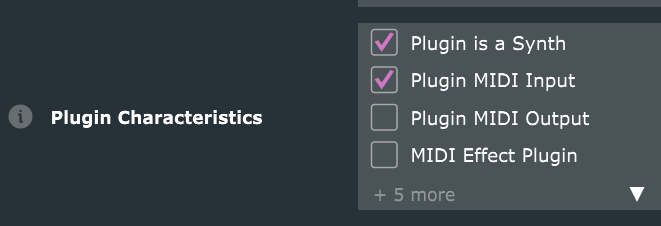
Note that for the plug-in to be recognized as a virtual instrument, the Plugin is a Synth option and MIDI input option needs to be checked in JUCE setting.
Here is a simple demo (melody from “Sandstorm”, envelop enabled, five sawtooth waves unison, no filter used):
